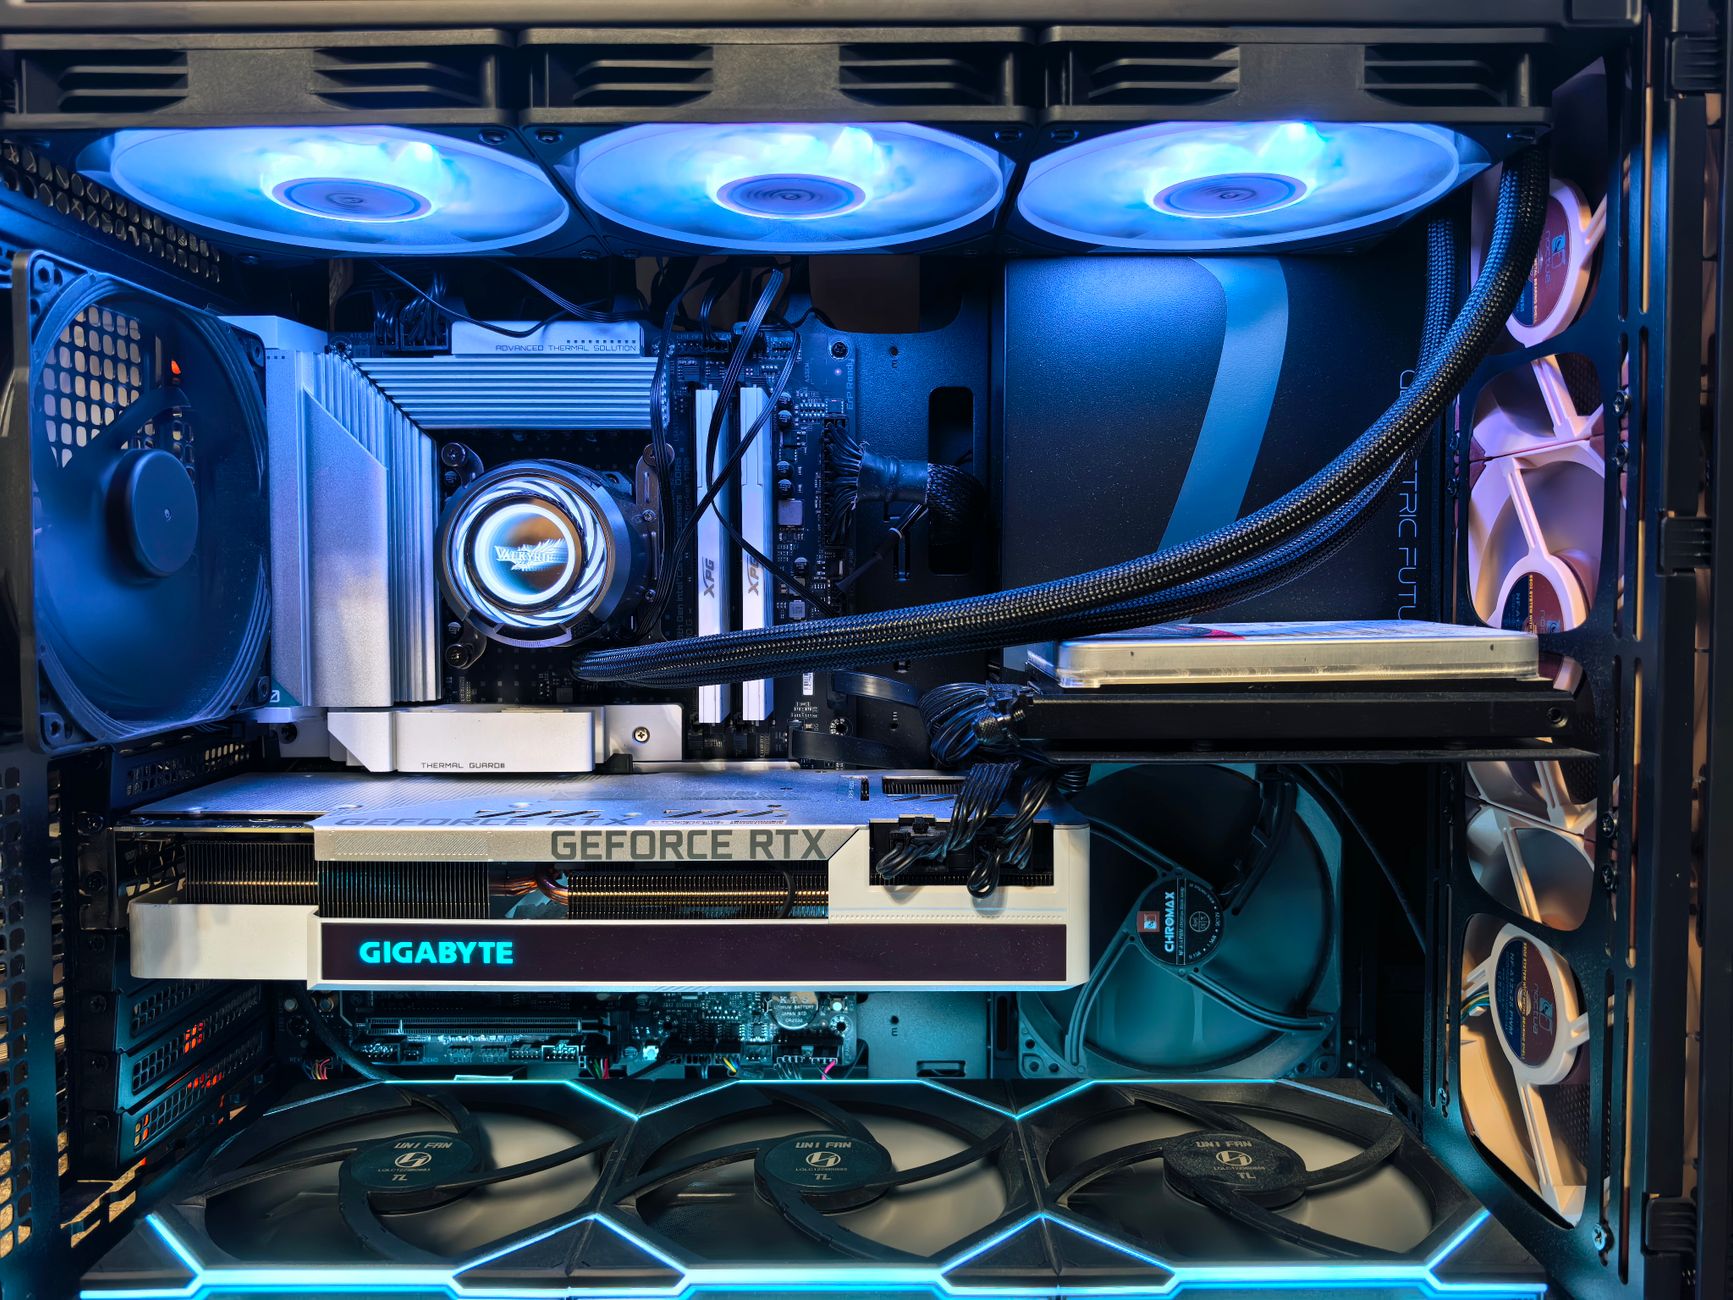
How to Build a Gaming PC Step by Step: Your Ultimate Guide
August 16, 2026 15 min read 2,916 words
Unlock peak gaming performance and save money by assembling your dream PC with our easy-to-follow, expert instructions.
Start Building Your Dream PC!
Understanding Your Gaming PC Components
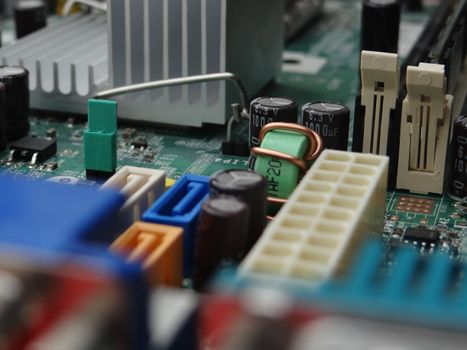 Photo: Djenz Van Eysendeyk / Pexels
Embarking on the journey of how to build a gaming PC step by step begins with a foundational understanding of its core components. Think of these parts as the organs of your digital beast, each playing a vital role in its overall performance and functionality. The central processing unit (CPU) is the brain, executing instructions and performing calculations. For gaming, you'll typically choose between Intel's Core i5/i7/i9 series or AMD's Ryzen 5/7/9 series. A higher core count and clock speed generally translate to better multitasking and gaming performance, especially in CPU-intensive titles. However, it's crucial to balance this with your budget, as high-end CPUs can be a significant investment. The graphics processing unit (GPU), or graphics card, is arguably the most critical component for gaming. It renders all the visuals you see on your screen, dictating frame rates, resolution capabilities, and graphical fidelity. NVIDIA's GeForce RTX series and AMD's Radeon RX series are the dominant players. When selecting a GPU, consider the games you want to play, your desired resolution (1080p, 1440p, 4K), and your monitor's refresh rate. A powerful GPU paired with a high refresh rate monitor offers an incredibly smooth and immersive gaming experience.
The motherboard acts as the nervous system, connecting all components and allowing them to communicate. It needs to be compatible with your chosen CPU (socket type, e.g., LGA 1700 for Intel or AM5 for AMD) and support the type and speed of RAM you plan to use. Look for features like PCIe 4.0 or 5.0 slots for your GPU and M.2 slots for fast NVMe SSDs. Random Access Memory (RAM) is your PC's short-term memory, storing data that the CPU needs to access quickly. For modern gaming, 16GB is generally the sweet spot, with 32GB becoming increasingly popular for enthusiasts and those who multitask heavily while gaming. Look for DDR4 or the newer DDR5 modules with speeds ranging from 3200MHz to 6000MHz or higher. Faster RAM can provide a noticeable boost in certain games and applications.
Storage is where your operating system, games, and files reside. Solid State Drives (SSDs), particularly NVMe M.2 SSDs, offer significantly faster load times and overall system responsiveness compared to traditional Hard Disk Drives (HDDs). While HDDs still offer a lower cost per gigabyte for mass storage, an NVMe SSD for your OS and primary games is highly recommended. A combination of a smaller, fast NVMe SSD for the OS and a larger SATA SSD or HDD for less frequently played games and media is a common and cost-effective approach. The power supply unit (PSU) provides electricity to all your components. Its wattage needs to be sufficient for your entire system, with some headroom for future upgrades. PSU efficiency ratings (Bronze, Silver, Gold, Platinum, Titanium) indicate how much power is converted to usable electricity versus lost as heat. A higher efficiency rating means less waste and potentially lower electricity bills. Finally, the PC case houses all these components, providing protection, airflow, and aesthetic appeal. Consider its size (ATX, Micro-ATX, Mini-ITX), cooling potential, and cable management features. A well-ventilated case is crucial for maintaining optimal component temperatures, especially during intense gaming sessions. For more detailed insights into component selection, check out our guide on
choosing PC parts for gaming.
Pre-Assembly Checklist and Workspace Setup
 Photo: Atahan Demir / Pexels
Before you dive into the exciting part of how to build a gaming PC step by step, a little preparation goes a long way. A well-organized workspace can prevent frustration, lost screws, and even static discharge issues. First, choose a clean, well-lit, and spacious area. A large table or workbench is ideal. Clear away any clutter that might get in your way. You'll be dealing with delicate components, so ensure there's no risk of accidental knocks or drops. Static electricity is the silent enemy of electronic components. It can cause irreversible damage. To mitigate this risk, work on a non-carpeted surface if possible. If you must work on carpet, consider using an anti-static mat. Always ground yourself before handling components by touching a bare metal part of your PC case (after plugging it into a grounded outlet, but with the PSU switched off) or by wearing an anti-static wrist strap connected to a grounded object.
Next, gather your tools. You won't need many, but the right ones make all the difference. A magnetic-tip Phillips head screwdriver (sizes #1 and #2) is essential. The magnetic tip is incredibly useful for handling tiny screws. You might also find a pair of small pliers or tweezers helpful for manipulating small connectors or standoffs. Cable ties or Velcro straps are crucial for effective cable management later on, which not only improves aesthetics but also airflow. A headlamp or flashlight can be surprisingly useful for illuminating tight spaces inside the case.
Now, for the components themselves. Carefully unbox each component and place them on your prepared workspace. Keep the packaging nearby, especially for motherboards and GPUs, as they often contain important accessories like SATA cables, M.2 screws, and manuals. Read through the manuals for your motherboard, CPU cooler, and case. While this guide provides general steps, specific instructions for mounting brackets or fan orientations can vary between manufacturers. Familiarizing yourself with these details beforehand can save you time and prevent errors.
Before installing anything into the case, a crucial pre-assembly step is installing the motherboard's I/O shield. This is the metal plate that snaps into the back of your PC case, providing openings for your USB ports, audio jacks, and other connectors. It's often overlooked or forgotten until the motherboard is already installed, making it a frustrating task to fix. So, locate it in your motherboard box and firmly snap it into the designated opening at the rear of your case. Ensure it's flush and secure. This simple step prevents a common headache for first-time builders. Finally, take a moment to appreciate your collection of high-tech parts. You're about to bring them to life!
Assembling the Core: CPU, Cooler, RAM, and Motherboard
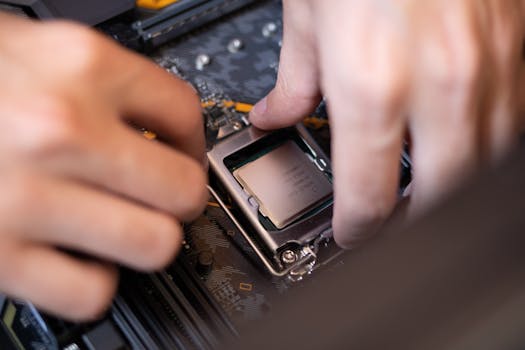 Photo: Athena Sandrini / Pexels
This stage is where the heart of your gaming PC truly begins to take shape. Following these steps carefully is paramount when learning how to build a gaming PC step by step, as improper installation of these core components can lead to system instability or even damage. Start with your CPU. Gently open the CPU socket lever on your motherboard. Carefully align the triangular arrow on your CPU with the corresponding arrow on the motherboard socket. Do not force the CPU into place; it should drop in with minimal pressure. Once seated, close the lever to secure it. For Intel CPUs, there are often two notches on the sides that align with the socket. For AMD Ryzen CPUs, be extra careful not to bend the pins on the bottom of the CPU.
Next comes the CPU cooler. If you're using the stock cooler that came with your CPU, it will likely have pre-applied thermal paste. If you have an aftermarket cooler, you'll need to apply thermal paste yourself. A pea-sized dot in the center of the CPU is usually sufficient. Consult your cooler's manual for specific mounting instructions, as these vary widely. Some coolers use a backplate, others clip directly onto the socket, and some screw into standoffs. Ensure it's mounted securely and that the fans are oriented to push air in the correct direction (usually exhausting towards the rear or top of the case). Connect the CPU cooler's fan cable to the 'CPU_FAN' header on your motherboard.
Now, for the RAM. Locate the RAM slots on your motherboard. Most motherboards have four slots, and for dual-channel performance, you'll typically install two sticks in specific slots (often slots 2 and 4, or as indicated in your motherboard manual). Open the clips on both ends of the RAM slots. Align the notch on your RAM stick with the notch in the slot. Apply even pressure to both ends of the RAM stick until the clips snap into place. You should hear a satisfying click. Do not force them; if they don't go in easily, recheck the alignment.
Finally, if you have an M.2 NVMe SSD, now is the ideal time to install it. Locate the M.2 slot(s) on your motherboard, usually covered by a heatsink. Unscrew the heatsink and the small standoff screw. Insert the M.2 SSD at a slight angle into the slot, then gently push it down and secure it with the standoff screw. Reattach the heatsink if your motherboard came with one, as it helps dissipate heat from the fast SSD.
With these critical components installed, you're ready to mount the motherboard into the case. Carefully place the motherboard inside your PC case, aligning the screw holes on the motherboard with the standoffs in the case. The I/O shield you installed earlier should align perfectly with the motherboard's ports. Use the screws provided with your case (often indicated as 'M.B.' or 'Motherboard' screws) to secure the motherboard firmly. Do not overtighten, but ensure it's snug. This foundational step is crucial for the stability and functionality of your entire system. For troubleshooting common issues, refer to our guide on
PC building troubleshooting tips.
Powering Up and Final Touches: GPU, PSU, and Cable Management
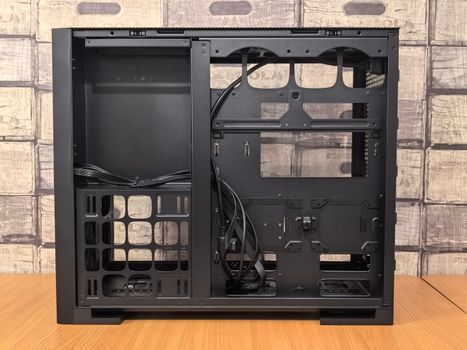 Photo: Andrey Matveev / Pexels
The final stages of how to build a gaming PC step by step involve installing the remaining major components, connecting all the necessary cables, and tidying everything up. This is where your system truly comes to life. Start with the power supply unit (PSU). Most cases have a dedicated compartment for the PSU, usually at the bottom rear. Slide the PSU into its bay and secure it with the screws provided with your case or PSU. Ensure the fan faces the correct direction – typically downwards if your case has a bottom vent, or upwards if it's a sealed bottom.
Next, install your graphics card (GPU). Locate the top PCIe x16 slot on your motherboard (it's usually the longest one, closest to the CPU). Remove the corresponding PCIe slot covers from the back of your case. Open the retention clip at the end of the PCIe slot. Carefully align your GPU with the slot and press it firmly into place until the retention clip snaps shut. Secure the GPU to the case with the screws you removed earlier. If your GPU requires additional power, connect the appropriate PCIe power cables from your PSU to the GPU. These are typically 6-pin, 8-pin, or 6+2-pin connectors.
Now, install any additional storage drives. If you have 2.5-inch SATA SSDs or 3.5-inch HDDs, mount them in the designated drive bays in your case. These often slide in or screw in from the side. Connect a SATA data cable from each drive to a SATA port on your motherboard, and connect a SATA power cable from your PSU to each drive.
With all components physically installed, it's time for the crucial step of connecting all the power and data cables. This can seem daunting, but take it one cable at a time. Connect the large 24-pin ATX power cable from the PSU to the main power header on your motherboard. Connect the 8-pin (or 4+4-pin) EPS CPU power cable to the top-left of your motherboard. Connect all front panel connectors: power switch, reset switch, USB 2.0, USB 3.0/3.1, and audio. These are usually small, fiddly cables, and your motherboard manual will be invaluable for identifying their correct orientation and placement.
Finally, cable management. This is not just for aesthetics; good cable management improves airflow within your case, leading to better cooling and system stability. Route cables behind the motherboard tray if your case allows. Use cable ties or Velcro straps to bundle cables neatly. Connect your monitor to the GPU (not the motherboard's video outputs, unless you're using integrated graphics), and plug in your mouse, keyboard, and power cord. Double-check all connections, ensuring everything is snug. Take a deep breath, and hit that power button! The first boot can be nerve-wracking, but if all goes well, you'll see your system POST (Power-On Self-Test) and eventually boot into the BIOS/UEFI. From there, you'll install your operating system, drivers, and your favorite games. Congratulations, you've successfully learned how to build a gaming PC step by step!