How to Build a Gaming PC: Your Ultimate DIY Guide
build gaming PC

How to Build a Gaming PC: Your Ultimate DIY Guide

Sleek gaming desk setup featuring RGB lighting, large monitor, and gaming PC with glowing fans.Photo: Atahan Demir / Pexels

How to Build a Gaming PC: Your Ultimate DIY Guide

Unlock superior performance and save money by assembling your dream gaming machine with our expert-led instructions.

Start Building Now

Key Takeaways

  • ✓ Building your own gaming PC offers better performance-to-price ratio than pre-builts.
  • ✓ Component compatibility is crucial; research before purchasing.
  • ✓ The process is modular and can be done by beginners with patience.
  • ✓ Proper cable management improves airflow and aesthetics.

How It Works

1
Plan Your Build & Budget

Determine your performance goals (e.g., 1080p, 1440p, 4K gaming) and establish a realistic budget. This will guide your component selection and ensure you don't overspend or underspend on critical parts.

2
Select Core Components

Choose your CPU, GPU, Motherboard, RAM, Storage, PSU, and Case, ensuring they are compatible. Use online tools like PCPartPicker to verify compatibility and estimate power consumption.

3
Assemble Your PC

Carefully install each component into the PC case, following manufacturer instructions. This includes mounting the CPU, installing RAM, connecting storage drives, and securing the graphics card.

4
Install OS & Drivers

Once assembled, install your preferred operating system (usually Windows) and then crucial drivers for your motherboard, GPU, and other peripherals. This optimizes performance and functionality.

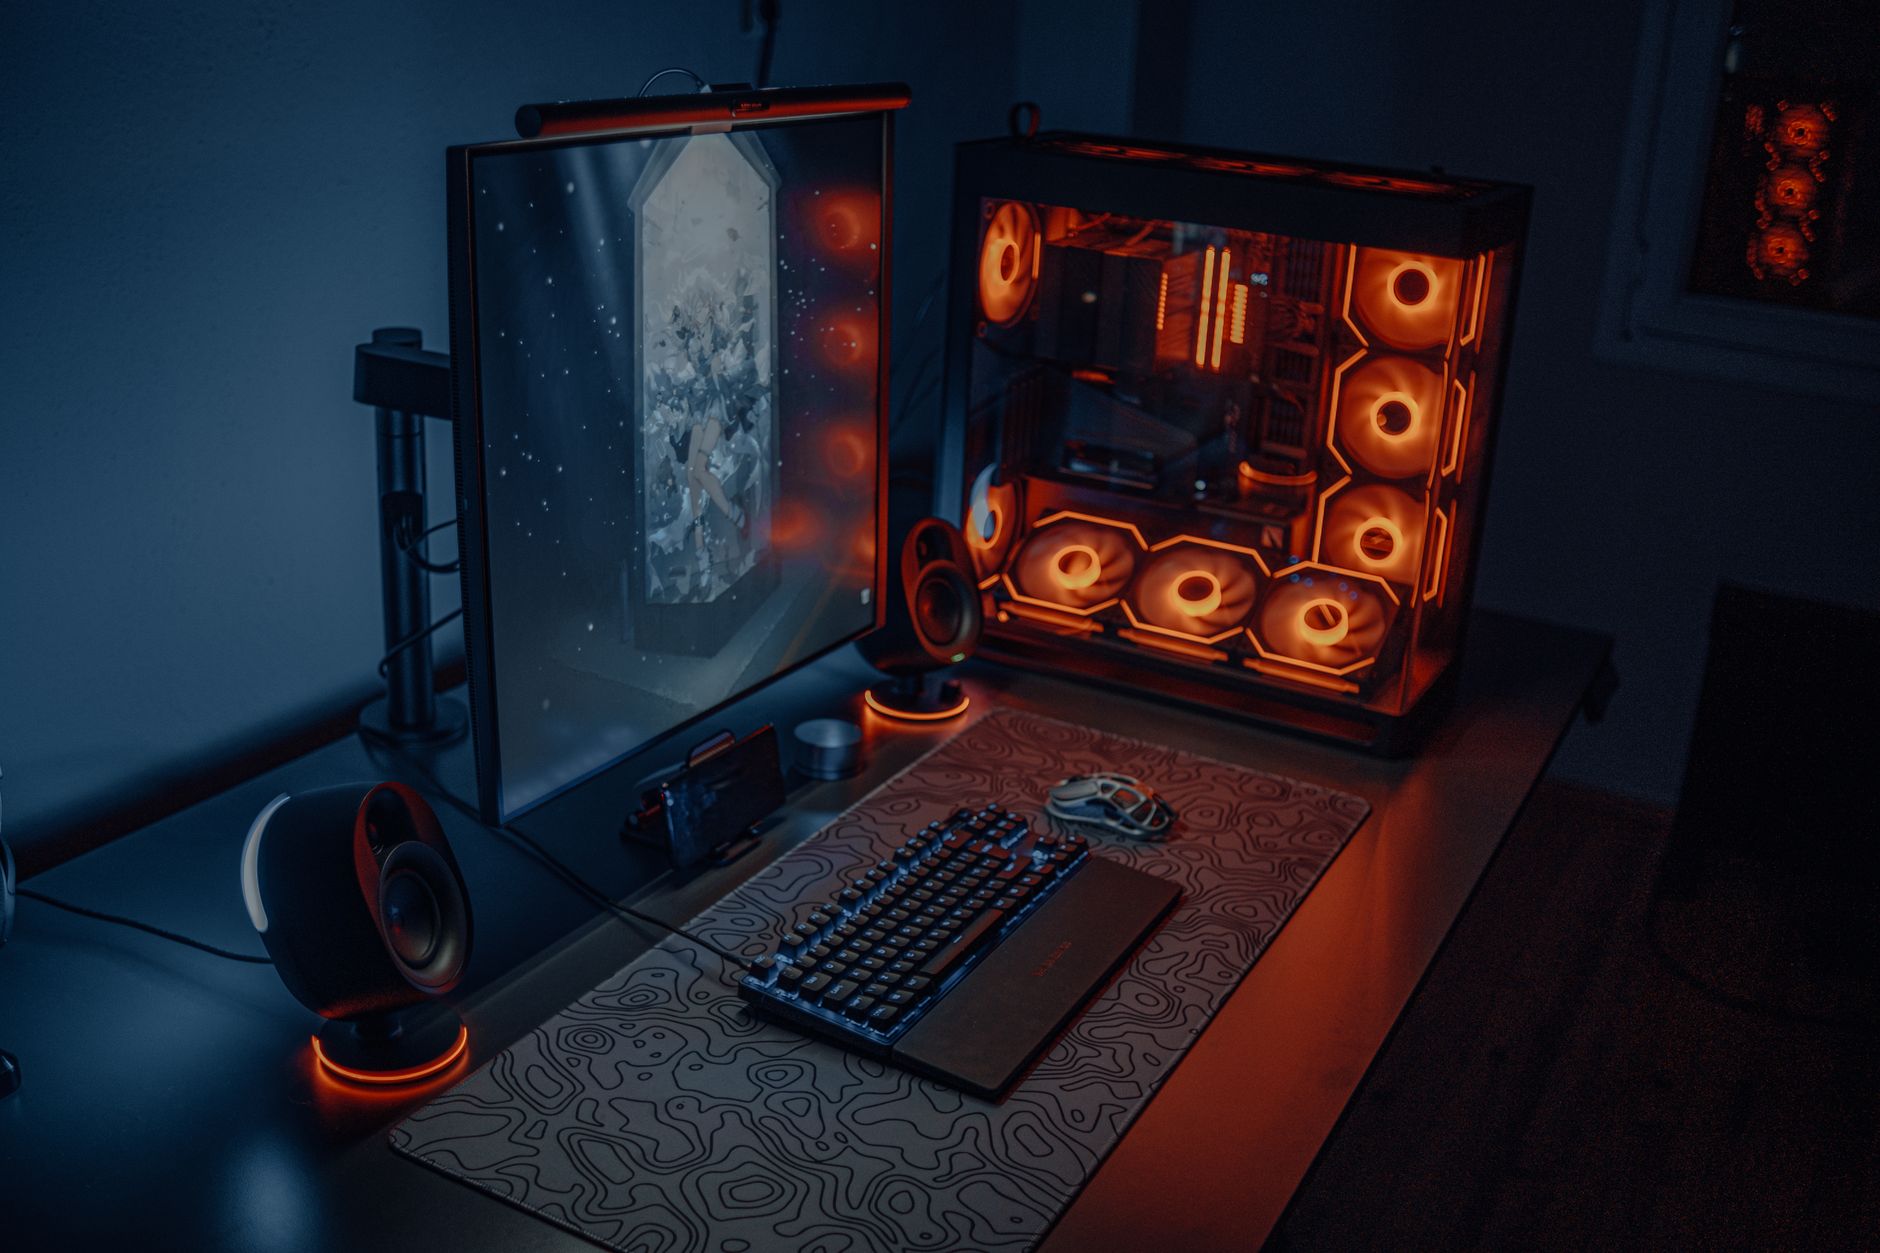
Understanding Core Gaming PC Components

Close-up of a colorful RGB cooling fan in a gaming PC setup.
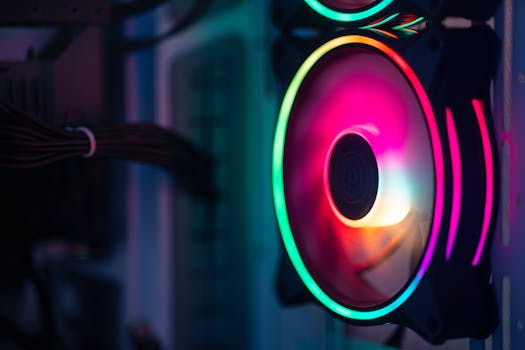
Photo: Necroform Art / Pexels
Embarking on the journey of how to build a gaming PC begins with a thorough understanding of its fundamental components. Each part plays a pivotal role in the overall performance, stability, and longevity of your machine. Skimping on research here can lead to compatibility issues, bottlenecks, or simply not getting the performance you expect for your investment. Let's break down the essential pieces of the puzzle. First up is the Central Processing Unit (CPU), often called the 'brain' of your computer. For gaming, you're looking for a CPU that can handle game logic, AI, and background tasks efficiently. Intel's Core i5/i7/i9 series and AMD's Ryzen 5/7/9 series are the dominant players. When selecting a CPU, consider its core count, clock speed, and cache size. More cores are beneficial for multitasking and some modern games, while higher clock speeds generally lead to better in-game performance. Crucially, your CPU choice dictates your motherboard socket type (e.g., Intel LGA 1700, AMD AM5), so these two must be compatible. A common mistake is pairing an older CPU with a newer motherboard or vice versa, leading to a non-booting system. Next, and arguably the most critical component for gaming, is the Graphics Processing Unit (GPU), or graphics card. This is what renders the stunning visuals you see on your screen. NVIDIA's GeForce RTX series and AMD's Radeon RX series are the go-to options. The GPU's performance directly impacts your game's frame rate and resolution capabilities. When choosing a GPU, consider your target resolution (1080p, 1440p, 4K) and refresh rate (60Hz, 144Hz, 240Hz). A powerful GPU paired with a weak CPU can lead to CPU bottlenecking, where the CPU can't feed data to the GPU fast enough, limiting its potential. Conversely, a high-end CPU with a budget GPU means your CPU is waiting around, underutilized. Aim for a balanced pairing. The Motherboard acts as the central nervous system, connecting all your components. Its features include the CPU socket, RAM slots, PCIe slots for your GPU and other expansion cards, storage connectors (SATA, M.2), and various ports for peripherals. Beyond compatibility with your CPU, consider the number of RAM slots (usually 2 or 4), the availability of M.2 slots for fast NVMe SSDs, and the quality of its power delivery system, especially if you plan on overclocking. Chipset choice also matters; for example, a B660 or Z690 for Intel, or a B550 or X570 for AMD, each offering different features and overclocking capabilities. Exploring motherboard features further can help you make an informed decision. Random Access Memory (RAM) is your system's short-term memory, used to store data that the CPU needs to access quickly. For a gaming PC, 16GB of DDR4 or DDR5 RAM is generally considered the sweet spot, with 32GB offering more headroom for heavy multitasking or future-proofing. Speed (measured in MHz) and latency (CAS Latency or CL) are key factors. Faster RAM can provide a noticeable performance boost in some games and applications. Ensure your RAM is compatible with your motherboard's specifications, including its generation (DDR4 vs. DDR5) and maximum supported speed. Storage comes in two main forms: Hard Disk Drives (HDDs) and Solid State Drives (SSDs). HDDs offer large capacities at a lower cost, ideal for storing large game libraries or media files. SSDs, especially NVMe M.2 drives, offer significantly faster boot times, game loading, and overall system responsiveness. A common strategy is to use a smaller NVMe SSD (500GB-1TB) for your operating system, frequently played games, and essential applications, paired with a larger HDD or SATA SSD for bulk storage. This combination provides both speed and capacity economically. The Power Supply Unit (PSU) is often overlooked but is crucial for system stability and longevity. It converts AC power from your wall outlet into DC power for your components. You'll need a PSU with sufficient wattage to power all your components, with some headroom for future upgrades or overclocking. PSU efficiency ratings (80 Plus Bronze, Silver, Gold, Platinum, Titanium) indicate how much power is lost as heat; higher ratings mean less wasted energy and often better build quality. Never skimp on the PSU; a cheap, unreliable unit can damage other components. Finally, the PC Case houses all your components. Beyond aesthetics, consider its airflow capabilities, support for your chosen motherboard size (ATX, Micro-ATX, Mini-ITX), and clearance for your GPU and CPU cooler. Good airflow is essential for keeping components cool, preventing thermal throttling, and extending their lifespan. Look for cases with good fan mounting options and dust filters. This foundational knowledge is essential before you even start looking at specific models. Understanding these components will empower you to make informed decisions and truly customize your build.

The Step-by-Step Assembly Process

Detailed close-up image of a computer motherboard showcasing various electronic components.
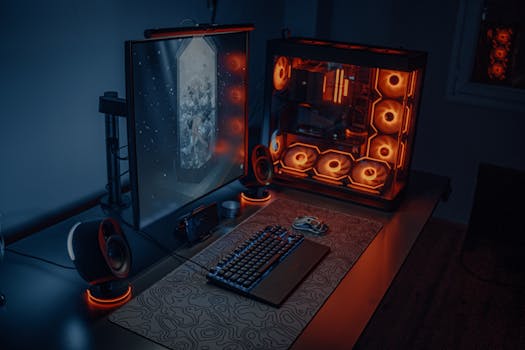
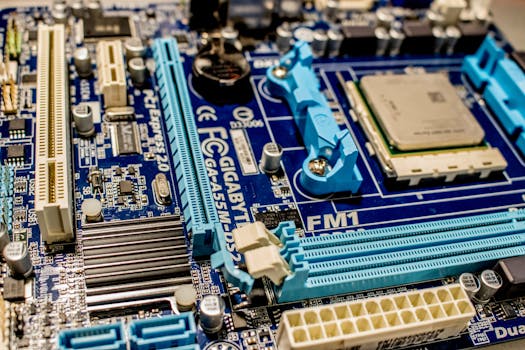
Photo: Jeremy Waterhouse / Pexels
With your carefully selected components in hand, the exciting part begins: assembly. While it might seem daunting, building a gaming PC is a methodical process, akin to assembling high-tech LEGOs. Patience, attention to detail, and following manufacturer instructions are your best friends. Before you even open a component box, ensure you have a clean, static-free workspace. An anti-static wrist strap is highly recommended to prevent accidental damage to sensitive electronics. Start by preparing your motherboard. This usually involves installing the CPU first. Carefully open the CPU socket lever, align the CPU’s triangular marker with the corresponding marker on the socket, and gently lower the CPU into place. Do not force it. Once seated, close the lever to secure it. Next, install the CPU cooler. If it’s an aftermarket cooler, you’ll typically need to apply thermal paste (if not pre-applied) and secure it according to its specific instructions. For stock coolers, it's often a simple push-pin or screw-down mechanism. Then, install your RAM sticks into the designated slots on the motherboard, applying even pressure until they click into place. Consult your motherboard manual for the correct slots to use for dual-channel or quad-channel memory configurations. With the CPU, cooler, and RAM installed, it’s often easiest to install the motherboard into the PC case next. Before doing so, ensure you’ve installed the I/O shield (the metal plate that covers the rear ports) into the case cutout from the inside. Carefully lower the motherboard into the case, aligning it with the standoff screws. Secure it with screws, but don't overtighten them. Next, install your storage drives. NVMe SSDs usually slot directly into M.2 slots on the motherboard and are secured with a small screw. SATA SSDs and HDDs mount into dedicated drive bays within the case and connect via SATA data and power cables. Now comes the showpiece: the Graphics Processing Unit (GPU). Locate the primary PCIe x16 slot on your motherboard (usually the top-most reinforced slot). Carefully open the retention clip at the end of the slot. Align your GPU, ensuring it's seated properly, and push it firmly into the slot until the retention clip clicks. Secure the GPU to the case with screws or a tool-less mechanism. Depending on its size and weight, you might consider a GPU support bracket to prevent sag. The Power Supply Unit (PSU) is usually installed at the bottom or top rear of the case. Slide it into its designated bay and secure it with screws from the outside. Now for the most intricate part: cable management. Connect the main 24-pin ATX power cable to the motherboard, the 8-pin (or 4+4-pin) CPU power cable to the motherboard, and the PCIe power cables to your GPU. Connect SATA power cables to your storage drives. Then, connect the smaller front panel connectors: power button, reset button, USB ports, audio jacks, and indicator lights. These are often tiny and can be fiddly; consult your motherboard manual for their exact locations. Route cables neatly behind the motherboard tray if your case allows, using zip ties or Velcro straps to bundle them. Good cable management not only makes your build look cleaner but also improves airflow inside the case. Finally, install any case fans you purchased (if not pre-installed) and connect them to fan headers on your motherboard. Double-check all connections, ensuring everything is firmly seated. Once confident, close up your case, connect your monitor, keyboard, and mouse, and power it on. The first boot can be nerve-wracking, but if all goes well, you'll see your motherboard's BIOS screen. This methodical approach ensures a smooth build and a high chance of first-time success.

Software Setup and Optimization for Peak Performance

A man intensely focused on multiple computer monitors in a dimly lit room, illustrating high-tech work environment.Photo: Suliman Sallehi / Pexels
After the exhilarating experience of physically assembling your gaming PC, the journey isn't over. The next crucial phase involves software setup and optimization, transforming your collection of components into a high-performance gaming machine. This stage is just as vital as the hardware selection, as even the most powerful components will underperform without proper software configuration. It starts with installing the operating system, moves through driver installation, and concludes with crucial optimization steps. The first step is to install your operating system, typically Windows 10 or Windows 11 for gaming. You'll need a USB drive with a bootable Windows installation media, which you can create using Microsoft's Media Creation Tool on another computer. Insert the USB drive, boot your PC, and enter the BIOS/UEFI settings (usually by pressing Del, F2, or F10 during startup). Configure your PC to boot from the USB drive. Follow the on-screen prompts to install Windows, selecting your primary SSD as the installation destination. This process formats the drive and installs the core operating system files. Once Windows is installed, your PC will reboot into the desktop. Next, and critically important, is installing the correct drivers. Drivers are software programs that allow your operating system to communicate with your hardware components. Without them, your GPU might not display at full resolution, your network card won't connect to the internet, and your audio won't work. Start with your motherboard's chipset drivers, which you can download from the motherboard manufacturer's website. These are essential for system stability and performance. Then, install your GPU drivers. For NVIDIA cards, download GeForce Game Ready Drivers; for AMD cards, download Radeon Software Adrenalin Edition. These drivers are frequently updated to improve performance in new games and fix bugs, so always get the latest version. Finally, install drivers for any other peripherals like Wi-Fi adapters, sound cards, or specialized keyboards/mice. Keeping drivers updated is an ongoing task for optimal performance. Once drivers are installed, it's time for Windows updates. Go to Settings > Windows Update and check for updates. Install all pending updates to ensure your system has the latest security patches and performance enhancements. After updates, consider adjusting some Windows settings for gaming. Disable unnecessary background apps, turn off visual effects that consume resources (e.g., 'Adjust for best performance' in System Properties), and ensure Game Mode is enabled. Game Mode prioritizes your game’s performance over background tasks. Beyond basic setup, several optimizations can squeeze extra performance out of your rig. Overclocking your CPU and/or GPU can yield significant frame rate improvements, but it requires careful research and understanding of your components' limits and cooling capabilities. Monitor your temperatures closely if you attempt this. Ensure your RAM is running at its advertised speed by enabling the XMP (Extreme Memory Profile) or DOCP (Direct Overclock Profile) in your BIOS/UEFI settings. By default, RAM often runs at a lower, safer speed. Finally, maintain your system. Regularly clean out dust from your case and fans to ensure optimal airflow and cooling. Use a reliable antivirus program and perform regular scans. Keep your drivers and operating system updated. Periodically defragment HDDs (though never SSDs) and use disk cleanup tools to free up space. By diligently following these software setup and optimization steps, you’ll ensure your custom-built gaming PC not only looks great but also performs at its absolute peak, delivering an immersive and smooth gaming experience.

Common Mistakes and Essential Tips for First-Time Builders

Interior view of a high-performance PC build featuring a Gigabyte motherboard and components.Photo: Andrey Matveev / Pexels
Building your first gaming PC is a rewarding experience, but it's also ripe for potential pitfalls. Being aware of common mistakes and arming yourself with essential tips can save you hours of frustration and potentially costly errors. Approaching the build with patience and methodical steps is paramount. One of the most frequent mistakes is neglecting compatibility. As discussed earlier, your CPU and motherboard socket must match, as must your RAM type (DDR4 vs. DDR5) and motherboard support. Using tools like PCPartPicker.com to verify compatibility before purchasing any component is an absolute must. It cross-references thousands of parts and flags potential issues, from physical clearance to power requirements. Another common error is inadequate power supply. Many first-time builders underestimate the wattage needed, especially for powerful GPUs and CPUs. Always choose a PSU with enough headroom, typically 100-150W above your estimated total system draw, to allow for power spikes and future upgrades. A higher efficiency rating (like 80 Plus Gold) is also a wise investment for better reliability and lower electricity bills. Poor cable management isn't just an aesthetic issue; it can significantly impact airflow, leading to higher temperatures and reduced component lifespan. Take the time to route cables behind the motherboard tray, use zip ties, and keep them away from fans. This promotes better cooling and makes future upgrades or troubleshooting much easier. Forgetting to install the I/O shield (the metal plate for the motherboard's rear ports) before mounting the motherboard into the case is a classic blunder. It's a minor inconvenience, but it means you'll have to unmount the motherboard, install the shield, and remount it. Save yourself the hassle. Over-tightening screws, especially those for CPU coolers or motherboard standoffs, can damage components or the motherboard itself. Hand-tighten screws where possible, and use a screwdriver only until snug. Conversely, not tightening enough can lead to poor contact, such as a wobbly CPU cooler not making proper contact with the CPU, resulting in overheating. Essential Tips for a Smooth Build: * **Read the Manuals:** This cannot be stressed enough. Every component, especially the motherboard and CPU cooler, comes with a detailed manual. Read them. They contain vital information on installation, troubleshooting, and specific connection points. * **Prepare Your Workspace:** A clean, well-lit, and spacious area is crucial. Use an anti-static mat and/or wrist strap to prevent static discharge, which can permanently damage components. * **Take Your Time:** Don't rush the process. If you feel frustrated, take a break. Haste often leads to mistakes. Building a PC is a marathon, not a sprint. * **Test Components Outside the Case (Bench Testing):** Before fully installing everything into the case, consider a 'bench test.' Install the CPU, cooler, and one stick of RAM onto the motherboard, connect the PSU, and plug in a monitor to the motherboard's integrated graphics (if available) or a basic GPU. This verifies that the core components are functional before you commit to the full build. * **Install Drivers and Updates Immediately:** As detailed in the previous section, software is just as important as hardware. Get all drivers and Windows updates installed right away. * **Don't Be Afraid to Ask for Help:** If you encounter an issue you can't resolve, there are vast online communities (forums, Reddit, YouTube tutorials) ready to offer assistance. Describe your problem clearly and provide photos if possible. * **Start with a Mid-Range Build:** For your very first PC, aiming for the absolute top-tier components can introduce more complexity and higher risk. A solid mid-range build provides an excellent learning experience without breaking the bank if a mistake occurs. * **Budget for Peripherals:** Don't forget to allocate funds for a good monitor, keyboard, mouse, and headset. These are crucial for the overall gaming experience. By heeding these warnings and tips, your first PC build will be a much smoother, more enjoyable, and ultimately successful endeavor, resulting in a powerful custom machine tailored precisely to your needs.

Comparison

FeatureCustom BuildPre-Built PC (Budget)Pre-Built PC (High-End)
Cost-EffectivenessExcellent (Performance/Price)Good (Often on sale)Fair (Premium for convenience)
CustomizationUnlimitedLimited to configurationsSome options, less flexible
UpgradeabilityHigh (Modular components)Moderate (Proprietary parts)Moderate (Often standard parts)
Performance ControlFull (Overclocking, tuning)Limited (Stock settings)Limited (Usually optimized)
WarrantyComponent-specificSingle system warrantySingle system warranty
Learning CurveHighLowLow
Build TimeHours to daysInstantInstant

What Our Readers Say

5 ★★★★★

"This guide was a lifesaver! I always thought building a gaming PC was too complex, but the step-by-step instructions made it incredibly approachable. My new rig runs Warzone flawlessly."

5 ★★★★★

"Finally, a resource that explains how to build a gaming PC without jargon. I saved hundreds compared to buying a pre-built and now have a machine perfectly tailored for my needs. Highly recommend!"

5 ★★★★★

"Following this guide, my first PC build booted up on the first try! The tips on cable management and driver installation were invaluable. My games have never looked better at 1440p."

4 ★★★★☆

"The guide is fantastic, though I did hit a snag with a tricky CPU cooler installation. A bit more detail on specific cooler types would have been helpful, but overall, it got me through the process successfully."

5 ★★★★★

"As someone who uses their PC for both heavy gaming and video editing, the section on component selection really helped me balance performance for both tasks. My custom build is a powerhouse!"

Frequently Asked Questions

Is it really cheaper to build a gaming PC than to buy one?
Generally, yes. Building your own gaming PC allows you to optimize your budget by choosing specific components, often resulting in a better performance-to-price ratio compared to pre-built systems. You avoid the 'system integrator tax' and can invest more in core components like the GPU and CPU. While some pre-builts can offer good value during sales, custom builds typically provide superior long-term value and upgradeability.
I'm worried about breaking components. How fragile are they?
While PC components are sensitive, they are not as fragile as many newcomers fear. Modern components are designed to be handled. The biggest risks are static electricity discharge and applying excessive force. Using an anti-static wrist strap, working on a clean surface, and being gentle but firm during installation will significantly reduce the risk of damage. Always refer to component manuals for specific handling instructions.
How long does it typically take to build a gaming PC?
For a first-time builder, the physical assembly process can take anywhere from 3 to 6 hours, or even longer if you're taking your time with cable management and troubleshooting. This doesn't include the time spent researching components, downloading operating system files, or installing drivers and software. Experienced builders can often complete a build in under two hours.
What's the most important component to spend money on for gaming performance?
For pure gaming performance, the Graphics Processing Unit (GPU) is almost always the most important component to allocate a significant portion of your budget to. It directly dictates the frame rate and graphical fidelity you'll achieve in games. While a good CPU, sufficient RAM, and fast storage are also crucial, a powerful GPU will have the greatest impact on your in-game experience.
Should I build an Intel or AMD gaming PC?
Both Intel and AMD offer excellent CPUs for gaming, and the choice often comes down to current market pricing, specific workload needs, and personal preference. Historically, Intel often had a slight edge in single-core gaming performance, while AMD excelled in multi-core tasks and value. However, both companies are highly competitive, with performance often trading blows between generations. Research current benchmarks for the specific CPU models you're considering to make an informed decision.
Who should consider building their own gaming PC?
Anyone looking for maximum performance for their budget, seeking a highly customized machine, or who enjoys a DIY project should consider building their own gaming PC. It's also ideal for those who want a deeper understanding of their computer's hardware, desire easier future upgrades, or require specific component choices that aren't available in pre-built systems.
Are there any safety risks involved in building a PC?
The primary safety risks involve static electricity, which can damage components (though not typically harmful to humans), and accidental cuts from sharp edges inside the case. Always unplug the power supply from the wall before working inside the PC. Exercise caution and use an anti-static wrist strap. The voltages inside a PSU can be dangerous, but you should never open the PSU itself.
What are the future trends in gaming PC components that I should be aware of?
Future trends include continued advancements in GPU performance and efficiency, wider adoption of DDR5 RAM, and faster NVMe SSDs (PCIe Gen 5 and beyond). We'll also likely see more integration of AI acceleration in GPUs, further improvements in CPU core counts and architectures, and continued innovation in cooling solutions. Consider these trends for future-proofing your build, but focus on current-gen components for immediate needs.

Ready to take control of your gaming destiny? Follow this comprehensive guide on how to build a gaming PC and unlock the power of a custom-tailored machine. The satisfaction of building your own rig, combined with superior performance, awaits you.

Topics: build gaming PCcustom gaming computerPC building guidegaming PC componentsDIY gaming rig
Leo List
Brampton weed
Adultwork